
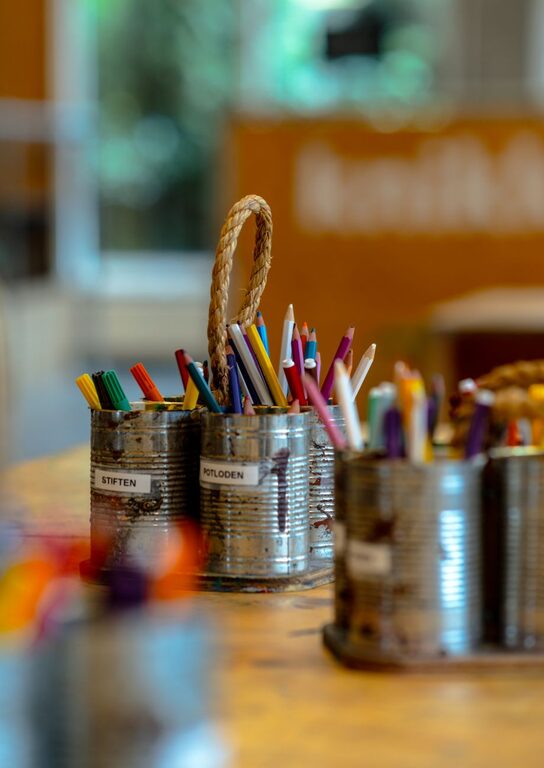
Kids’ artwork is full of personality, creativity, and memories. It can also arrive faster than most families can display or store it. Drawings, paintings, school projects, handmade cards, and craft creations can quickly cover the refrigerator, fill kitchen drawers, and overflow from shelves.
The goal is not to save every piece or throw everything away. A simple system can help you enjoy your child’s creativity while keeping your home manageable. With a few easy habits, you can sort artwork, display special pieces, and preserve the projects that matter most.
Create a Simple Sorting System
The first step is to give every new piece of artwork a temporary home. This keeps papers from spreading across the house before you decide what to do with them.
Choose one easy-to-reach location, such as:
– A basket near the entryway
– A folder for each child
– A drawer in the kitchen
– A box placed near school supplies
– A wall-mounted file holder
Label the space with each child’s name if you have more than one child. When a new drawing or project comes home, place it in the correct location. Avoid making the temporary storage area too large. A small container encourages regular sorting and prevents papers from piling up indefinitely.
Set aside a few minutes each week or month to review the collection. A regular schedule is easier than waiting until the artwork becomes an overwhelming stack.
Use a Keep, Display, Photograph System
When sorting, divide artwork into three basic groups: keep, display, and photograph.
Keep
Keep pieces that show an important milestone, a new skill, or a meaningful memory. You might save a child’s first drawing of a person, a favorite school project, or artwork made for a special occasion.
Display
Some artwork deserves a place where the family can enjoy it every day. Displaying selected pieces gives children positive feedback and makes their work feel valued. Choose only a few items at a time so each piece has room to stand out.
Photograph
Some projects are too large, fragile, or temporary to store. Take a clear photograph before recycling or letting the project go. Photos allow you to remember the artwork without keeping every physical item.
You can also combine these categories. For example, display a piece for a few weeks, photograph it, and then place the original in a keepsake folder.
Set Up a Rotating Art Display
A rotating display keeps your walls fresh and gives children a chance to see their work featured. It also creates a natural limit on how much artwork can be displayed at once.
Good display options include:
– Clipboards mounted on a wall
– A wire with clothespins
– Magnetic frames
– A corkboard
– A large picture frame with clips inside
– A dedicated refrigerator section
Choose a location that is easy to update. If changing the display requires moving furniture or finding special tools, it may not happen often.
Consider giving each child one or two display spaces. When a new piece is selected, the child can help decide which older piece should be stored, photographed, or recycled. This turns organization into a shared activity instead of a quiet task done by adults.
Sort Artwork by Child and Year
For pieces you plan to keep, use a consistent filing system. The simplest option is one folder, binder, or box for each child every year.
Add basic information to important pieces, including:
– Your child’s name
– Age or grade
– Date or year
– A short note about the project
– The occasion, if it was made for a special event
This information can make the artwork more meaningful later. A simple caption such as “Painted during our first trip to the beach” can bring back details that might otherwise be forgotten.
Use large envelopes or folders for flat artwork. For three-dimensional projects, choose a sturdy box with a lid. Avoid filling containers so tightly that papers bend or become difficult to remove.
Take Better Photos of Artwork
Photographs are especially useful for large paintings, classroom displays, and projects made from materials that do not store well. A few simple steps can make digital copies easier to view later.
Photograph artwork in natural light when possible. Place it on a flat surface and take the picture from directly above to reduce distortion. For larger pieces, hang them on a plain wall and take the photo straight on.
Keep the background simple and check that the entire piece is visible. If the artwork includes a child’s name or a school label, make sure the text is readable.
Create a digital album for each child and year. You can also organize photos by themes such as paintings, school projects, holiday crafts, and special occasions. Add dates or short captions to help you find favorite pieces later.
Make a Yearly Art Book
A yearly art book is a practical way to preserve many creations in one place. Select a limited number of pieces from each season or school term and arrange them in a photo book.
You can include:
– Scanned drawings
– Photos of large projects
– Pictures of your child holding the artwork
– Short comments from your child
– Important dates or school details
A book does not need to include every piece. Choose artwork that shows different styles, interests, and stages of growth. Over time, these books can become a useful record of your child’s changing skills and imagination.
If you prefer a lower-cost option, print selected photos and place them in a standard album or binder. The important part is creating a format that your family can maintain.
Give Children a Role in the Process
Children are more likely to respect an organization system when they help create it. Explain that the goal is to make room for new projects while keeping the pieces that are most meaningful.
Ask questions such as:
– Which piece is your favorite?
– What was fun about making this?
– Which artwork shows something new you learned?
– Would you like to display this or save it?
– Is there a project we can photograph?
Avoid describing artwork as “good” or “bad.” Instead, focus on effort, ideas, colors, details, and the story behind the project. This keeps the process encouraging while helping children make thoughtful choices.
For younger children, offer two or three options rather than asking them to sort a large pile. Older children may be able to label folders, scan artwork, or maintain their own display area.
Set Limits for Three-Dimensional Projects
Sculptures, cardboard creations, paper models, and craft projects can be especially difficult to store. Choose a specific shelf, box, or cabinet for three-dimensional artwork.
When the space is full, review the collection together. Photograph pieces that are no longer being used, then recycle or disassemble projects when appropriate. If a project includes materials that should not be stored long term, such as food items or natural objects, take a photo before disposal.
You can also reuse some creations as decorations, gift tags, greeting cards, or room decor. This gives artwork a second purpose and reduces the number of items kept only in storage.
Make Organization Part of the Routine
The most effective art organization system is one that fits naturally into your family’s schedule. Spend a few minutes sorting each week, or choose a monthly art review day.
Keep basic supplies nearby, such as:
– Folders
– Labels
– A marker
– A phone or camera
– A recycling container
– A storage box
When these tools are easy to find, sorting becomes quicker. Try to make decisions soon after artwork arrives rather than moving the same stack from one surface to another.
Remember that the purpose of organizing kids’ art is to preserve creativity and memories, not to create another demanding household chore. Display the pieces that bring joy, save the ones with meaning, photograph the rest, and allow your system to change as your children grow.
